Rollout groups keep percentage rollouts in step across related feature flags. This page covers adding a flag to a rollout group, and creating, renaming, and deleting groups.
Rollout groups
By default, a percentage condition on one flag reaches a different set of tenants or users than the same percentage on another flag. This spreads the risk of new features, so the same tenants or users aren’t always first in line.
A rollout group connects the percentage rollouts of several flags so they reach the same tenants and users. If 2 flags in a group each roll out to 20% of tenants, they reach the same 20%. Use a rollout group for features that only make sense together, such as a new onboarding flow split across several flags.
A rollout group affects Percentage conditions only. Other conditions, such as tenant tags or context attributes, match the same way whether or not a flag is in a group. For how percentages are calculated, see Percentage rollouts.
Create a rollout group
Create a rollout group before you add flags to it. Rollout groups belong to a project.
To create a rollout group:
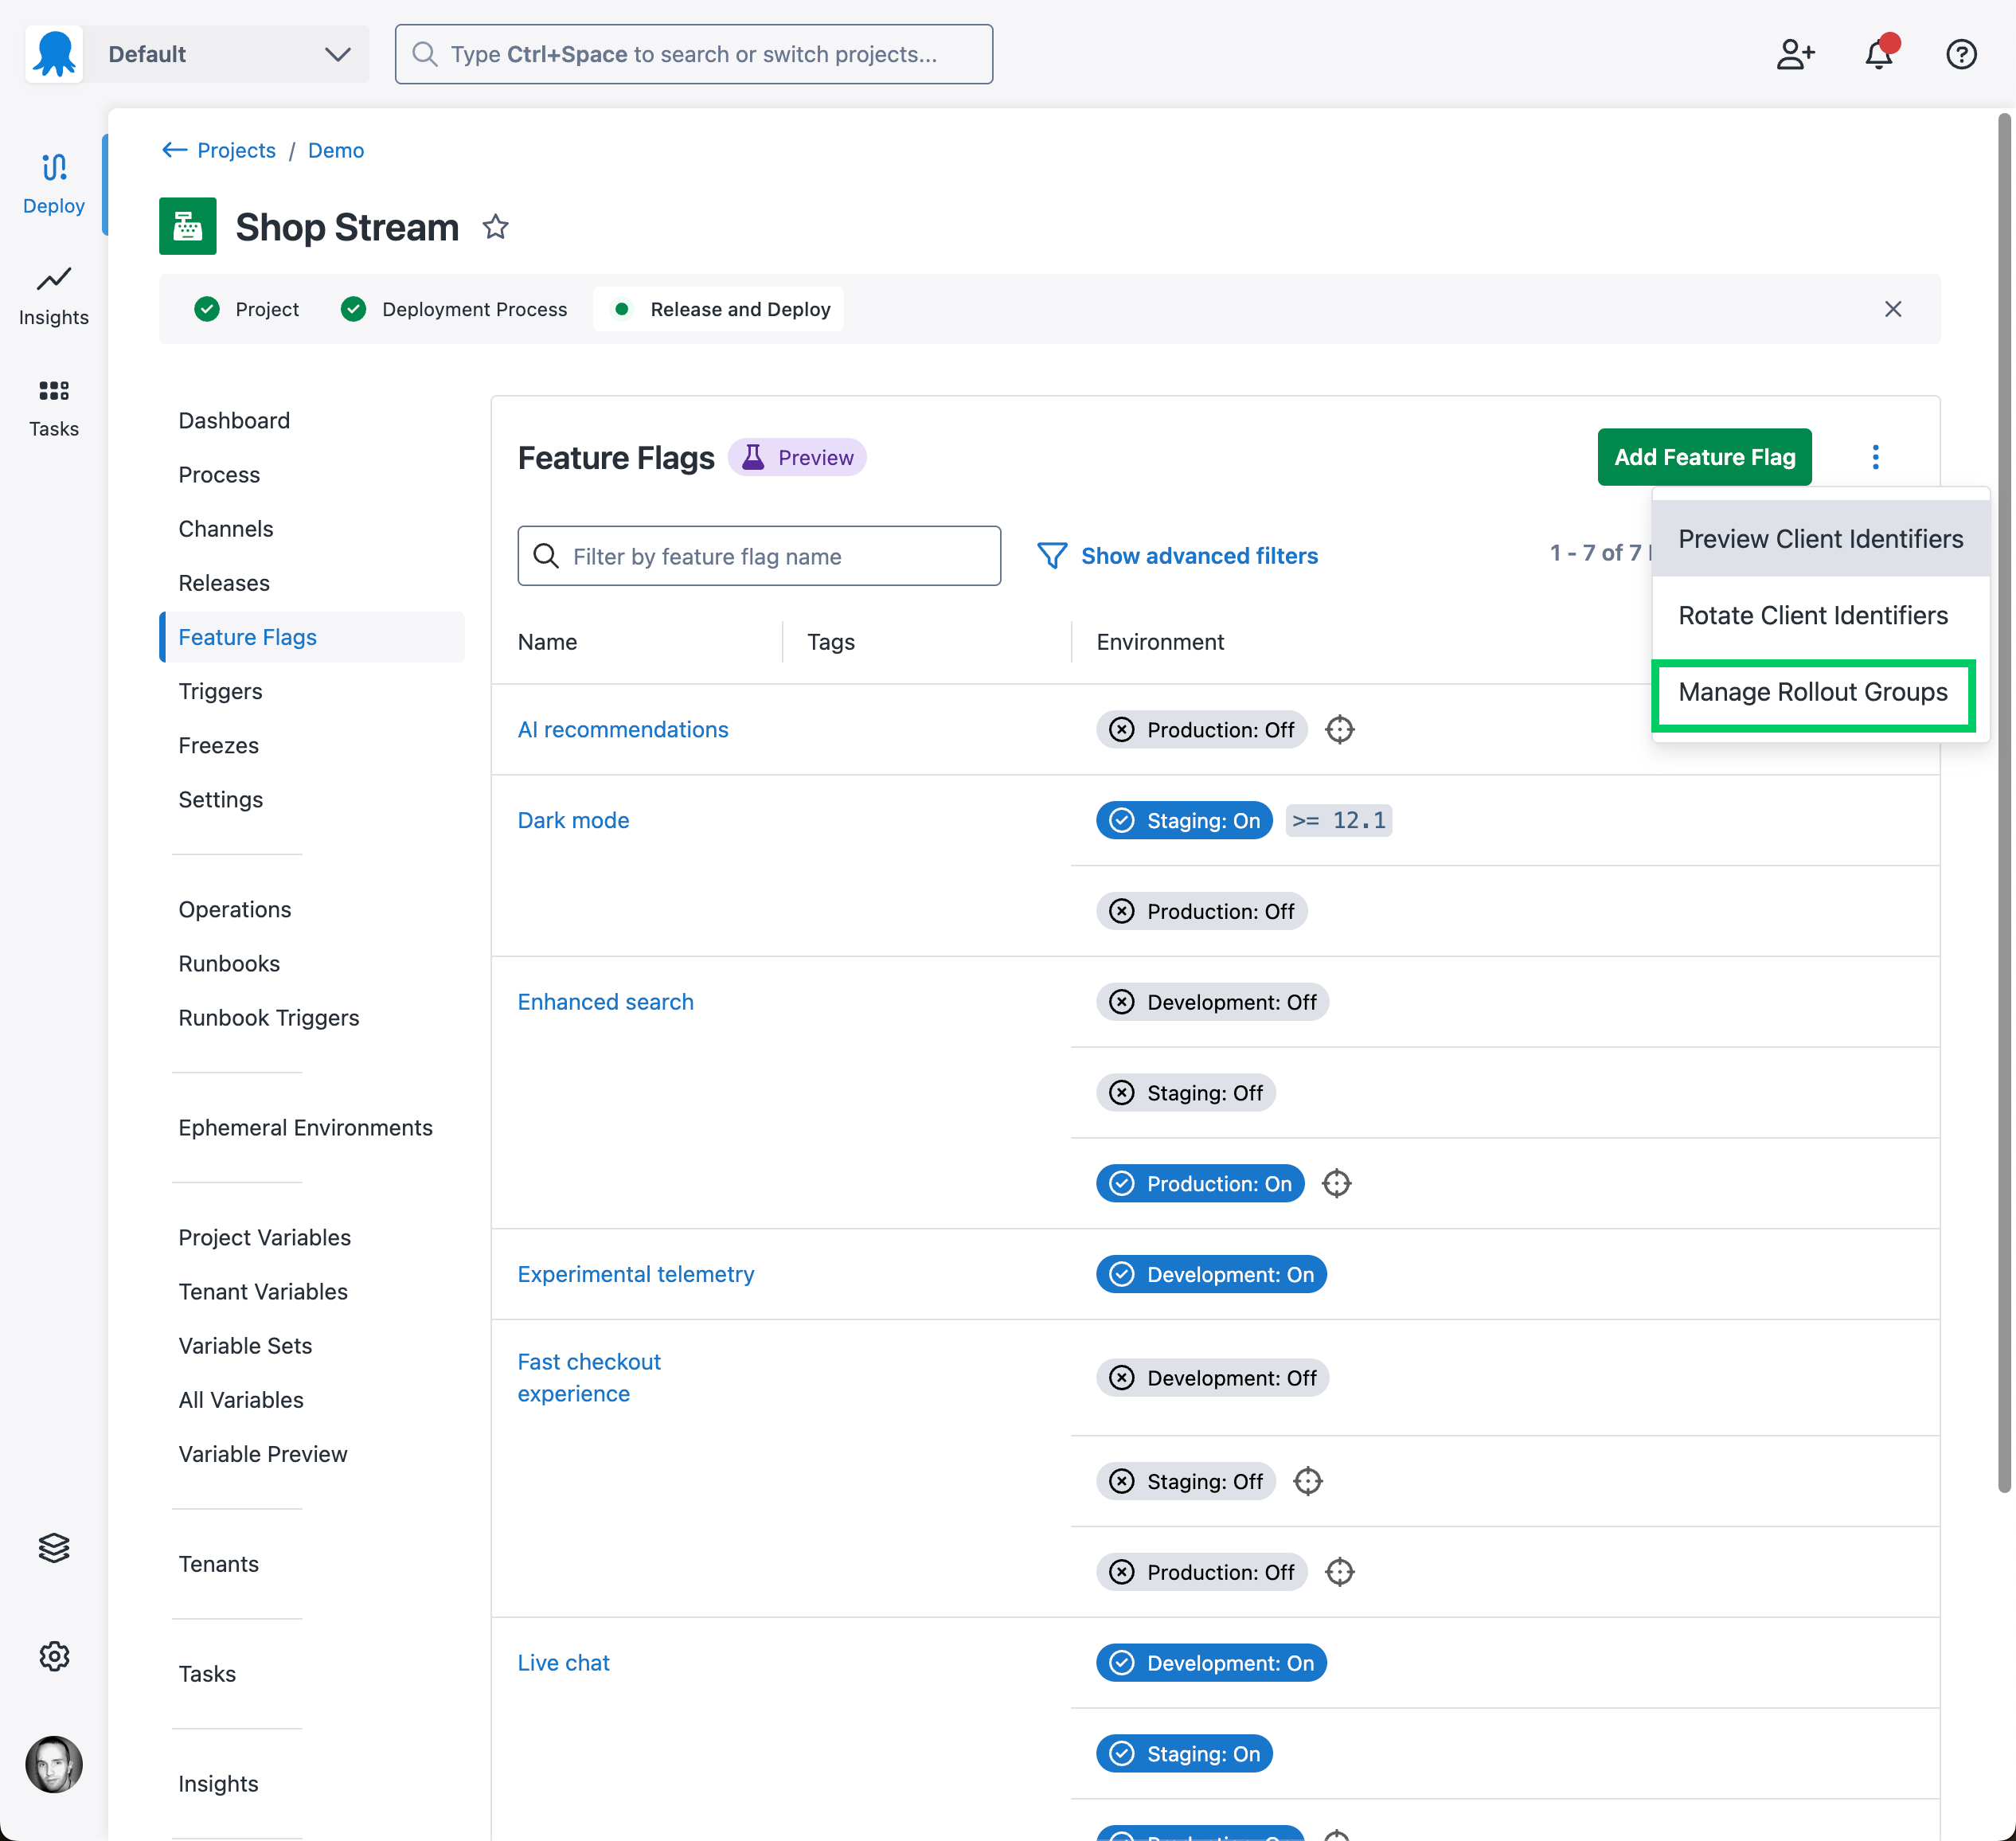
- From your project, select Feature Flags.
- Open the overflow menu and select Manage Rollout Groups.
- Select Add Rollout Group.
- Enter a name for the group.
- [VERIFY: the label of the button that saves a new rollout group — needs: confirmation from the Add Rollout Group dialog]
The group appears in the project’s rollout group list, ready to assign to flags.
Add a feature flag to a rollout group
Adding a flag to a rollout group changes which tenants and users its percentage conditions reach, so check the flag’s current rollout first.
To add a feature flag to a rollout group:
- From your project, select Feature Flags, then select the flag.
- Select the group in the Rollout group field.
- Save the flag.
If the flag has percentage conditions, adding it to a group, changing its group, or removing it from a group changes which tenants and users get the flag. Octopus warns you and lists the affected environments before you save.
The rollout group list shows the flag under the group’s feature flags.
Rename or delete a rollout group
Rename a group to keep its purpose clear, or delete it when no flags need it. Renaming a group doesn’t change which tenants or users its flags reach.
Before you begin
You’ll need:
- To delete a group: no flags assigned to it. Remove the group from each flag that uses it first.
To rename or delete a rollout group:
- From your project, select Feature Flags.
- Open the overflow menu and select Manage Rollout Groups.
- Open the group’s overflow menu and select Edit or Delete.
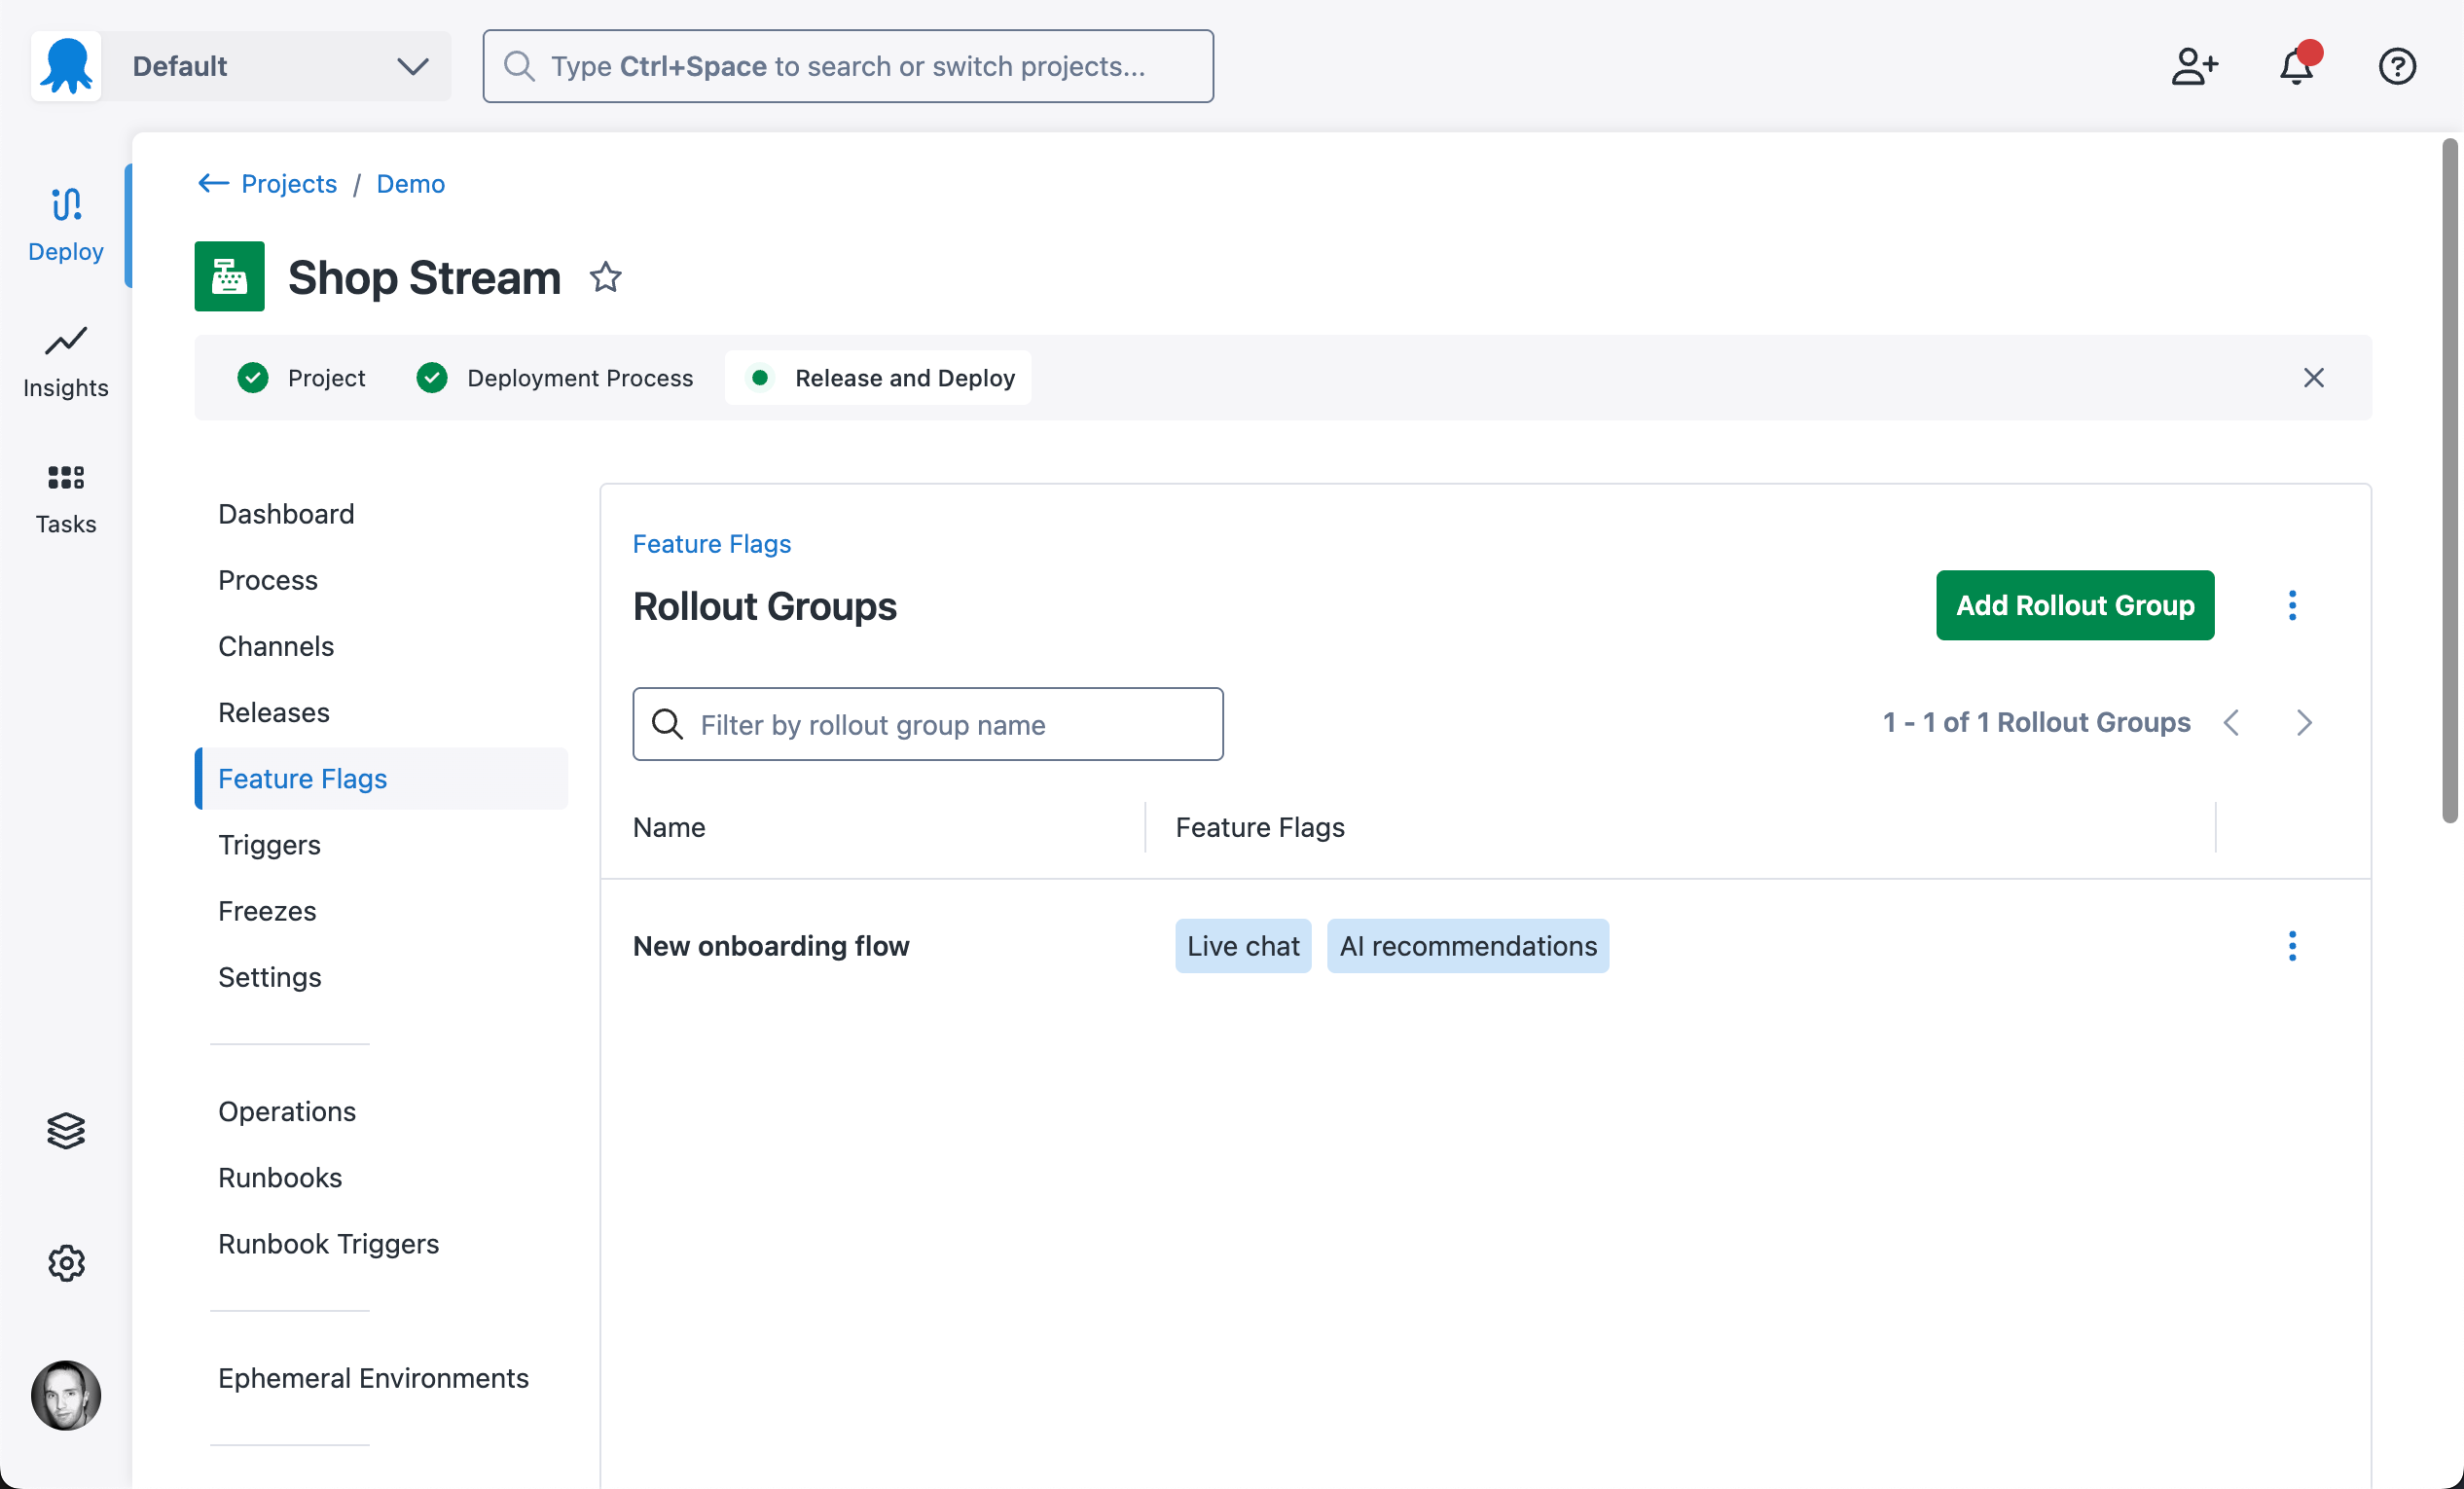
The group shows its new name, or no longer appears in the list.